Who doesn’t enjoy freshly baked bread? But picture having to make bread without a breadmaker! Yeah, not so fun now, right?
Since breadmakers have developed a cult following overnight, overuse can hinder the proper working of the machine.
In this article, we will discuss in length the various issues that can cause the malfunctioning of the paddles. We will also discuss step-by-step how to troubleshoot and solve the issue without calling a professional.
Want more? We will also provide some tips that can help improve the machine’s performance and lifespan.
Why does the paddle in my breadmaker get stuck in the bread?

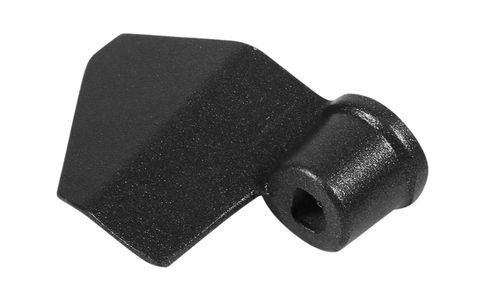
The paddles in the bread maker play a significant role in giving us those fluffy buns! It helps knead the ingredients together to give it the perfect texture before baking.
When less water is used, there is a potential that the dough will occasionally become too sticky and adhere to the breadmaker’s paddles. The paddles spoil the overall appearance of the loaf and take away a significant chunk of the bread; it can be disheartening.
Well, it can be avoided!
Step 1: Add all the ingredients to the bread maker and start the kneading process.
Step 2: After every 10 minutes, check the consistency of the dough.
Step 3: If the dough is dry, add water and if the dough is too soggy, let the machine knead it further.
Step 4: Once the perfect consistency is ready, remove the insert and unscrew the paddles.
Step 5: After removing the paddle, add the dough-filled insert and begin the baking process.
Since the paddle is taken out before the final rise, the dough can be extracted without any issue. Many people are hesitant to peek inside the breadmaker while it is kneading, but I encourage you to do so because it can help you understand your dough better.
Diagnosing a Stuck Bread Maker Paddle
Various factors can impact the way the breadmaker works and operates. Sometimes the paddle gets stuck and prevents the kneading of the ingredients; it may be because dirt has gathered beneath the paddle knob or because the belt has broken down.
Understanding the issue at hand is a prerequisite for finding a solution.
Start With the Basic Troubleshooting Steps

Humans are designed to create complex mental scenarios. When the breadmaker malfunctions, my initial assumption is that it has to be a severe issue and needs replacing.
Well, hold your horses! Before jumping to conclusions, let us try to troubleshoot the problem.
1. Check for Power

Too basic, right? However, there is a possibility that the machine might not function when plugged into one particular socket, but it might begin to function normally when hooked into the other. Therefore, you can check the following list to confirm that the power is accurate.
- Check if the main socket switch is on
- Check if the power switch on the breadmaker is on
- Is the wire plugged tightly in the socket
- Check if the outlet is functioning by plugging another electrical device in it.
- Try plugging the breadmaker in a different outlet to match the voltage and current.
- Check the fuse
2. Check the Delay Settings
Most breadmakers have multiple settings to help users customize their bread’s time, type, and texture. One such setting gives the user the ability to control when they want the machine to start kneading,
For instance, if you want the bread for breakfast, you can add the ingredients at night and set the delay timer to start kneading in the morning to give you warm bread for breakfast.
Hence, if the paddle is not moving, check if the settings are favorable and not set on delay.
3. Check the Manual
You can obtain the handbook if you are convinced that the power is perfect and that the delay setting is off. A manual is a lifesaver because it contains numerous troubleshooting instructions that can address the user’s problem with the machine’s paddle.
If you cannot troubleshoot the issue and fix the paddle, you can check the customer care number and warranty facilities. It will help you get professional help to fix the breadmaker’s paddle.
4. Reposition the Paddle
If the paddle is loose or not fixed in the correct position, the paddle will not move. In such a situation, try to detach the paddle and reattach it firmly to the spindle.
5. Check for Blockage and Debris
Since the breadmaker is used constantly to knead a gooey dough, there are chances that some of this sticky dough is left attached to the paddle. It can hinder the movement of the paddle and thus prevent the machine from functioning normally.
6. Paddle Shaft Buildup
If the paddle is not cleaned correctly, there are chances that some of the dough will be left behind. Over time, the dough accumulates between the shaft and inhibits the movement of the paddle.
Even if you don’t see a buildup, lubricating the paddles can help promote the movement of these blades.
You can try the following to remove the accumulated gunk
Step 1: Soak the paddle in hot water and dishwashing liquid for 30 minutes. It helps in solidifying the buildup.
Step 2: Push the paddle shaft up and down to remove the accumulated debris from the shaft.
Step 3: Keep doing this until you know all the gunk is removed.
Step 4: To ensure the machine runs smoothly, apply some lubricant to the shaft before turning it on.
If the buildup is still present, you must prepare a hot water bath that can accelerate the removal process.
Step 1: Add hot water and dishwasher soap or detergent to the bread pot.
Step 2: Let the two of them work for 10 minutes on the accumulated dirt.
Step 3: In another vessel, add water and let it boil at a slow flame.
Step 4: Add the bread pot to this vessel and hold it with tongs.
Step 5: With the help of a wooden or silicone spoon, turn and twist the paddle to remove the buildup.
Step 6: Keep repeating the process until all the soap and detergent is not cleared.
Step 7: Rinse the pot and add a lubricant to the paddle and shaft. It will help in reducing the wear and tear of the blades.
7. Belt Problems in Your Bread Maker
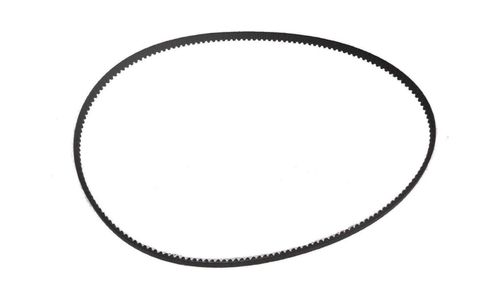
If you have tried all the above troubleshooting, you can move on to the technical aspect of the machine. The timing belt helps in ensuring the proper functioning of the paddle.
Listed below is a step-by-step guide that can help you access and clean the belt.
Step 1: Make sure the machine’s power is off.
Step 2: Remove the plug from the socket to stop the power supply.
Step 3: Turn the machine upside down and remove the 4 screws present on the 4 corners of the machine.
Step 4: Keep the screws safe because you have to reattach them later. Find the belt after removing the bottom cover. The belt is positioned between two pulleys to enable its circular motion.
Step 5: Stretch the belt and try to rejoin it so it is in the right place if it is not between the pulleys.
Step 6: If the belt is burnt or broken, it needs immediate replacement.
Step 7: In such a situation, you can look at the manual to contact customer care and get the belt replaced.
8. Lubricating Your Bread Maker
Lubrication is the key to reducing friction and regular wear and tear in equipment. In the breadmaker, the belt and paddle move continuously around the shaft to knead the ingredients together.
Hence, to facilitate its movement, lubrication can work wonders. However, one oil cannot be used to lubricate everything.
9. Bread Spindle Shaft
You can use any oil you like because the spindle shaft is not present inside the pot. Add a couple of drops of oil to the external spindle and rub it all over.
10. Paddle Shaft
Since the paddle shaft is inside the pan, the oil used should be safe for consumption. You can use pan greasing or vegetable oil to coat the paddle and lubricate it.
4 Ways to Free a Stuck Bread Maker Paddle
Wondering what to do if the paddle is jammed and is not moving even if you try to remove it manually. In such situations, try to detach the paddle from its shaft and the pan. Let me go through 4 easy yet effective methods to help you achieve that!
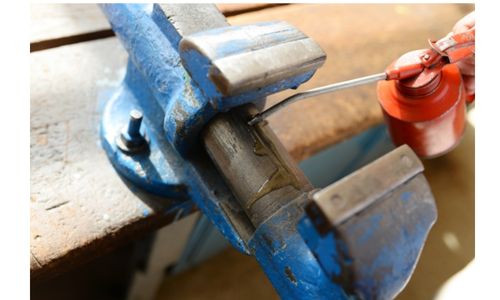
1. Twist the Paddle in Opposite Directions
Since the paddles are attached to a shaft, twisting the paddle can help you pull it free.
Here is what you need to do
Step 1: Using a toothpick or an elastic band, remove any accumulated dough and gunk from the paddles and the shaft.
Step 2: Hold the base of the pan with one hand and pull the paddle up and down while twisting it open.
Step 3: Keep doing this until the paddle is loosened and pulled out.
Step 4: Clean the shaft and the knobs with a flossing wire or toothpick before reinserting the paddles.
Step 5: Lubricate and reposition the paddle.
2. Half Fill the Bread Pan With Hot Water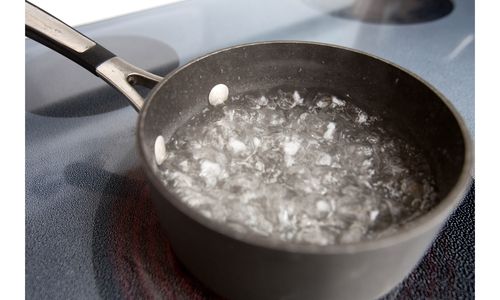
If the bread accumulated is thick and cannot come out with the toothpick, you can use the following method.
Step 1: Add some detergent into the bread pad, so the paddle is immersed.
Step 2: Add boiling water to the pan and let it sit for 30 minutes.
Step 3: Pull the paddle up and down while twisting it open while holding the pan’s base with one hand.
Step 4: Do this repeatedly until the paddle is released and taken out.
Step 5: Before reinstalling the paddles, use a flossing wire or toothpick to clean the shaft and the knobs.
Step 6: Lubricate and reposition the paddle.
3. Heat the Paddle with a Hairdryer
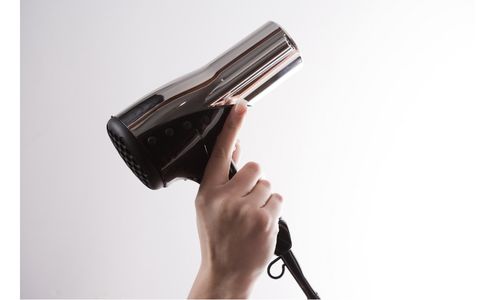
The paddle and shaft of the breadmaker can have rusted if it hasn’t been used for a long. This method can help eliminate the rust to facilitate movement in that area and help you pull the paddle out.
Step 1: Use a hairdryer on the highest setting.
Step 2: Direct the airflow on and around the paddle.
Step 3: Holding the base of the pan with one hand, pull the paddle up and down while twisting it open.
Step 4: Repeat this process until the paddle is freed and removed.
4. Wrap a Shoelace Around the Paddle
Shoelaces can come in very handy in helping us pull the paddle up. You can try this method if the paddle is too stubborn and won’t come out.
Step 1: Using a toothpick, try to clean the area in and around the paddle.
Step 2: Wrap the lace and tie a knot around the paddle.
Step 3: Hold the pot firmly on a table and wrap the other end of the lace around your hand.
Step 4: Pull the laces back and front from multiple angles and pressure to fish out the paddle.
Tips on Maintaining Your Bread Maker

Prevention is better than cure! The following tips help keep your unit secure and lengthen the breadmaker’s lifespan.
- Unplug the device once the work is done.
- Do not keep the machine dirty once the bread is baked. Clean it right away. It will prevent the bread from solidifying and accumulating in the crevices and paddles.
- Clean the pans with your hand because a dishwasher may not be able to clean them thoroughly. While cleaning it, use soft scrubs and liquid soap.
- The nonstick coating can get scraped off if sharp objects are used inside the pan. Hence use wooden spoons or silicone spoons if you want to mix or check the dough.
- To prevent rusting, thoroughly wipe the parts with a cotton or muslin cloth before storage.
- Cover the machine when not in use to prevent dust accumulation.
FAQs
FAQ 1: Why does bread rise unevenly in the bread machine?
Answer: Most of the time, the main reason the bread turns out to be lopsided is lack of water. Another reason can be if the paddles are damaged. If the kneading is not done thoroughly, the chances are that the bread will not rise evenly.
FAQ 2: How long does bread maker bread last?
Answer: Like any other bread, it is safe to consume them within three to four days since it is baked. They can have a five-day extension in shelf life when refrigerated. Cover it in plastic wrap or aluminum foil to avoid moisture loss before placing it in the refrigerator.
FAQ 3: What ingredient makes bread last longer?
Answer: The best preservation is Calcium propionate. It can inhibit the growth of bacteria and mold while not affecting the function of yeast.
Takeaway
Making bread is fun unless the breadmaker is not functioning! Before calling professionals, try to troubleshoot the issue and solve the problem.
Check the machine’s power supply and settings if the paddle is not working.
If you notice that the paddle has accumulated dough and bread over time, it may need a thorough cleaning followed by lubrication.
I hope you found this article helpful. Let me know in the comments if you have any further queries.